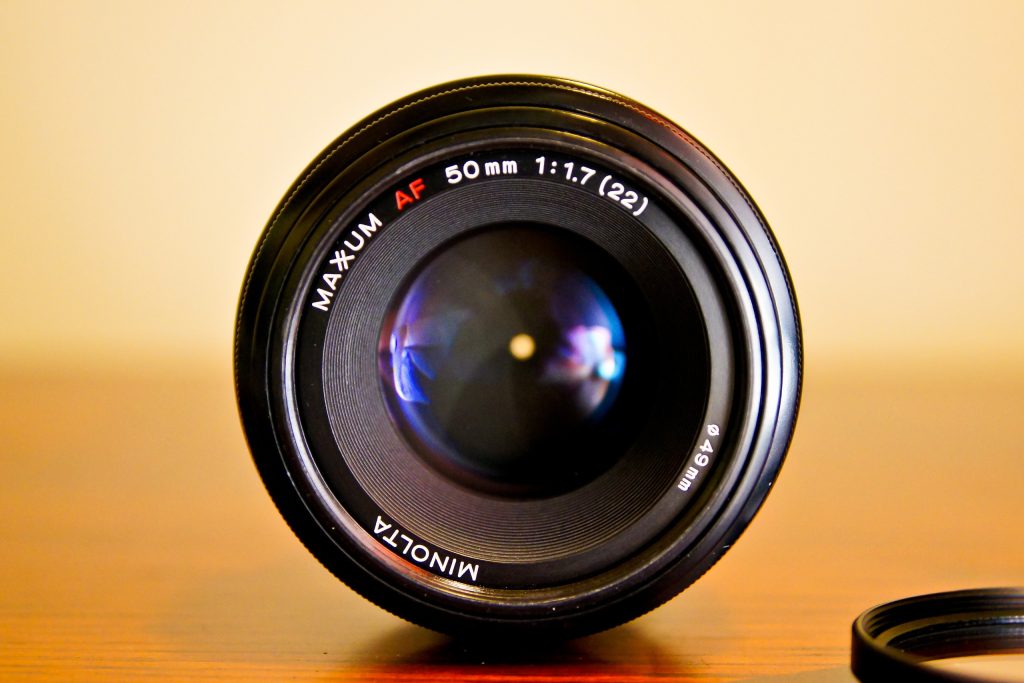
Keeping your camera lens and filters clean is essential to capture crisp and clear photos. The article will explore the safest and most efficient way to clean a camera lens. Readers will learn about the necessary cleaning tools and techniques to ensure their camera produces the best image quality possible. Follow these methods to get rid of those pesky dust and smudges on your lens.
Starting with some informative details is always a good approach:
- The quality of your images can be impacted by the presence of dirty optics, which can occur and have a negative effect.
- When it comes to cleaning lens and filter optics, it’s important to use the proper methods and tools.
- Some cleaning methods and tools used for lens and filter optics are not appropriate.
- When it comes to cleaning camera lenses, there’s a plethora of information available, but not all of it agrees with each other.
It’s best to simplify things and discover the most effective and secure method to clean your lenses. This way, you can spend more time snapping beautiful photos and less time scrubbing away at grime.
1. Limit unnecessary cleaning
When it comes to lenses, we want them to last as long as possible. While glass is tough and can withstand a lot of wear and tear, adding coatings and chemicals can make it easier to scratch and damage. That’s why it’s important to keep lenses and filters clean and free of dirt or fingerprints. Repeated physical interaction with the lenses, including touching and cleaning, can increase the risk of damage.
When your camera lenses are not in use, it’s always recommended to put front and rear lens caps on. Doing so helps to keep the lenses free from dust and dirt, which can accumulate over time. However, once you start using your gear, it’s almost inevitable that the lenses will get dirty. To prevent this from happening, it’s advisable to clean the camera bag’s insides occasionally, as dust and debris tend to settle inside the bag and can attach themselves to the lens.
2. Dust is an inevitable part of life
Dust is an inescapable element that can easily sneak into your lens. Despite the efforts of lens manufacturers to keep their factories immaculate, lens elements may still be prone to dust contamination even if they are brand new.
When it comes to lens care, many people believe that dust is the primary culprit behind image-quality issues. However, this isn’t entirely true. A lens that gathers dust for years on a shelf can indeed suffer from image-quality problems, while a few spatters of dust on or inside the lens may not affect the image quality at all. The statement underscores the idea that a smattering of dust, whether inward or outward, will not cause image-quality issues.
It may be tempting to clean your camera lenses often to ensure they are dust-free, but this practice may lead to scratches on the lens surface. Such scratches can shorten the lifespan of your lens.
3. Beware of rear smudges
The clarity of your camera lens may be impacted by oily fingerprints and smudges on the back element. This is because these marks cause the light to focus narrowly, resulting in a dramatic effect on image quality.
The rear element of the lens is less prone to dust and oil, which is great news. Why? Because when the camera is mounted, it’s not as exposed to the sticky hands of kids or accidental spills that may come with handheld usage.
3 Easy Steps for Cleaning your Lens and Filter
When in the field, one can follow a simple three-step process to effectively clean camera lenses and filters. This process is easy to abide by and ensures that your equipment remains clean and functional.
- One should begin by using a blower or a soft-bristled brush to gently remove as much dust and dirt from the lens as possible.
- It is recommended to add a small amount of lens cleaning solution onto a lens tissue or cleaning cloth. This will help to effectively clean your lenses.
- Begin by using a gentle, circular motion to eliminate any oil, fingerprints, or grime that may be present on the surface of the lens. It is important to start from the centre and work your way outwards.
Analysis
When it comes to cleaning your camera lens or filter, remember these three easy steps. However, it’s important to avoid unnecessary cleaning if there are no greasy fingerprints or oily smudges on the lens. Cleaning in a dust-free “clean room” donning a vinyl suit and rubber gloves is not required. Similarly, you don’t need to clean your lens or filter at the first sight of dust speckles.
The front element and barrel of a lens are the most susceptible to environmental hazards. To safeguard the front element, it is recommended to attach a high-quality protective or UV filter. These filters are comparatively less expensive than lenses and act as guardians to protect the delicate optics of the lens from dust and scratches. Cleaning the filter is also similar to cleaning any other lens.
Maintaining a clean lens barrel is important for the longevity of your camera lens. Although A dirty lens barrel won’t necessarily impact image quality, it may cause potential issues with the focus and zoom mechanisms. To avoid these problems, keep your lens barrel clean by using a lens cloth or tissue and applying a lens-cleaning solution.
Brushes and Blowers
Airborne dust can be a pesky problem for DSLR camera owners. While traditional methods such as compressed air may seem like a good idea, they can often create more problems than solutions. Instead, opt for a blower to gently remove dust from your camera’s lenses and sensors. If a blower isn’t available, blowing with your own breath could do the trick, but be mindful of potential moisture. Make sure to always keep a blower handy in your camera bag for an easy and effective way to keep your camera equipment clean.
An abundance of lens-cleaning brushes are available in the market, but it is advisable to choose A high-quality one. Brushes made from camel hair are highly effective in cleaning Canon EF lenses. However, ensure that the brush bristles do not come into contact with oily fingers as this can result in the transfer of grime onto the lens during cleaning.
Cloth, tissues, and cleaners
Lens tissue is an inexpensive means of cleaning your camera lens. However, it is important to remember that it is intended for one-time use only. To ensure optimal results, it is recommended to discard the tissue immediately after use.
Microfiber cleaning cloths have become popular due to their effectiveness in cleaning. However, to ensure that you get the best out of them, there are a few precautions you need to take. It’s important to keep the clothes clean as they will be used for multiple cleanings. You don’t want to re-apply dirt and grime or particles on your lens that might cause scratches. If you decide to wash the cloth, avoid using liquid fabric softeners as they can leave a chemical residue that may cause streaks on your lens.
When it comes to cleaning camera lenses, tread carefully when it comes to using a cotton T-shirt. Although it can work in a pinch, it’s not recommended for everyday use. Instead, opt for dedicated lens-cleaning tissues and cloths for better and safer results. But if you find yourself caught without your gear and in need of a quick fix, warm breath and a clean 100% cotton T-shirt may do the trick. Just be sure to avoid any fabric softeners, as they can damage your lens.
Cotton swabs are an effective choice for cleaning, especially when it comes to cleaning the edges of a lens. Their small size and soft texture make them ideal for reaching tight areas and removing debris.
It is not advisable to use facial tissue for cleaning your lenses. This is because some brands of tissue are abrasive, while others contain oils and lotions that can leave streaks on your lenses.
Lens cleaning can be an easy task if you have the right solution. Many lens manufacturers offer specially formulated cleaning solutions that work well with optical coatings. These solutions are not expensive but if you prefer to make your own, reagent-grade isopropyl alcohol is recommended. While deionized water is safe, it’s not an ideal solution to remove smudges that are only water-soluble or caused by warm breath.
Acetone is a potent solvent used for cleaning various surfaces, but it should not be used on camera lenses. Applying it to the lens barrel made of plastic or paint, or the optical coatings, can cause irreversible damage. Therefore, it is highly recommended to refrain from using acetone on camera lenses to avoid any harm.
Household window cleaners are not ideal for cleaning coated optics. It is better to use lens-cleaning solutions, alcohol, or deionized water, which are specifically designed for this purpose.
To ensure that the lens is not damaged or affected by liquid droplets, it’s recommended to apply the cleaning solution onto a tissue or cloth instead of directly onto the lens. Several reasons support this approach. Firstly, liquid droplets may run to the edge of the lens element, thereby entering the lens body and potentially damaging it. Even when using weatherproof lenses, there’s a chance that liquid may penetrate the lens body due to capillary action. Secondly, droplets of liquid can act as lenses and focus sunlight onto the glass surface, creating super-heated areas that may cause damage. Lastly, mild liquids and water can have corrosive properties if left in contact with a surface for an extended time. Therefore, one must be cautious while cleaning the lens to avoid any damage.
Cleaning Technique
When wiping a lens, it’s more effective to move in concentric circles rather than back and forth to minimise the chances of streaks.
When cleaning the lens, it is advisable to work from the centre towards the edge. This method helps in pushing the dirt away from the centre of the image circle towards the edges. Even if the grime is not entirely removed during the cleaning process, this approach helps in keeping it away from the image’s central area.
When removing a smudge, it’s best to apply gentle pressure while wiping until the blemish disappears.
Lens-Cleaning Miscellany
When using a DLSR or SLR camera, it’s common to notice dust specs in the viewfinder, but don’t worry as this won’t impact your final photo. The culprit is often dust on the camera’s reflex mirror, which can be cautiously cleaned. However, using air blowers on the mirror may cause dust to land on the digital sensor, negatively affecting image quality.
If you’re using sports optics, telescopes, or capturing photos at night, it’s crucial to clean your lens. However, be aware that using a colour-filtered flashlight to inspect for smudges and dirt may not show everything. To avoid missing anything, it’s better to use white light unless you intentionally want to preserve your night vision.
To ensure the longevity of your camera equipment, it is vital to clean lens mounts occasionally. Use a microfiber cloth and lens-cleaning solution to wipe the mounts carefully. Additionally, digital contacts that allow lens-camera communication may need cleaning from time to time. Always use a separate cloth for the mounts and optics to avoid metal debris. As an inadvertent inclusion of metal debris may degrade the lens’s quality.
The trio of easy steps should never be forgotten: Firstly, keep in mind that dust is an inevitable issue, and secondly, devote more time to capturing stunning photographs than tending to your equipment. Finally, occasional dusting will take care of things.